

General
In the Drawing Module (Ctrl+D), one can create dimension lines in any Viewport window using the dimensioning tools provided. Dimensioning commands works similar to the dimension commands of common CAD programs. Created dimension lines are three dimensional and can be viewed from any direction just like all other objects (structural elements, nodes, points, etc.) as shown in the following figure:

Dimension lines are clickable objects; they can be selected using the mouse or their property editor can be displayed by double clicking. Dimension commands can be accessed either using the Dimension toolbar (see the figure below) or using the Dimensions menu.

Following commands are available for dimensioning the model.
-
Horizontal Dimension
-
Vertical Dimension
-
Aligned Dimension
-
Split Existing Dimension
-
Toggle Segment Selection On / Off
-
Add Dimension Point
-
Delete Dimension Point
- Radial Dimension
- Radial Dimension (3 Points)
- Circular
- Circular (3 Points)
- Slope Dimension
- Level Indicator (Elevation)
- Level Indicator (Plan View)
Dimension Toolbar
 Horizontal Dimension
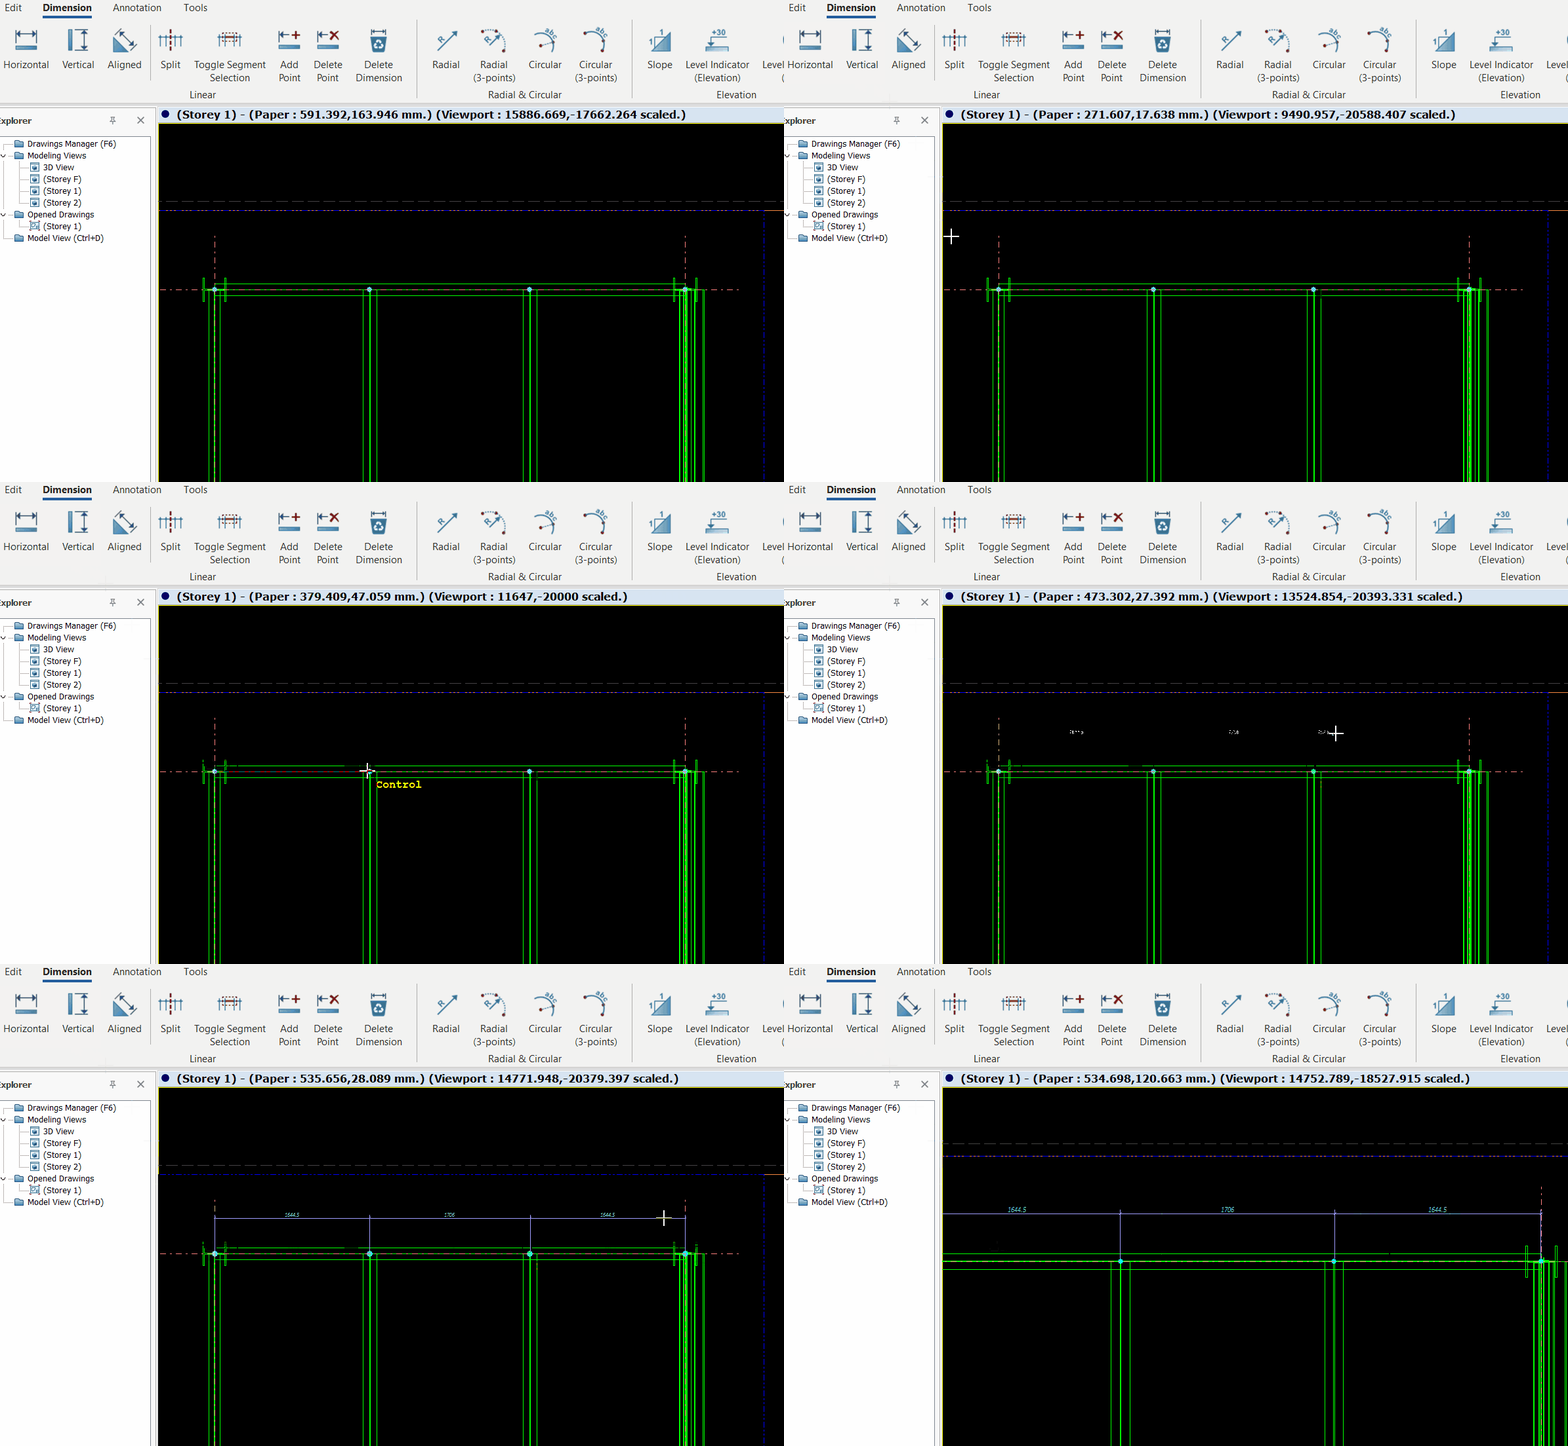
This command measures and displays the horizontally projected distance between selected points. To create a horizontal dimension :
- Click on to
 icon on the Dimension toolbar or select Horizontal Dimension command from the Dimensions menu.
 - Then, left-click to select at least two control points. If you continue to select more than 2 control points, multiple dimension will be created.
- Finally, right-click on a point to indicate the location of dimension line.
An example of horizontal dimension line is shown in the figure below:
Vertical Dimension
This command measures and displays the vertically projected distance between selected points. To create a vertical dimension :
- Click on to
 icon on the Dimension toolbar or select Vertical Dimension command from the Dimensions menu.
 - Then, left-click to select at least two control points. If you continue to select more than 2 control points, multiple dimension will be created.
- Finally, right-click on a point to indicate the location of dimension line.
An example of a vertical dimension line is shown in the figure below:

Aligned Dimension
This command measures and displays the exact distance between the selected points. To create an aligned dimension :
- Click on to
 icon on the Dimension toolbar or select Aligned Dimension command from the Dimensions menu.
 - Then, left-click to select at least two control points. If you continue to select more than 2 control points, multiple dimension will be created.
- Finally, right-click on a point to indicate the location of dimension line.
An example of a general dimension line is shown in the figure below:

Split Existing Dimension
This command split the selected dimensions if there are overlapping :
- Left-click to select the dimension
- Click on to
 icon.
icon.
Toggle Segment Selection 
Toggles between selecting a segment of the dimension or the whole dimension.
Add Dimension Point
This command allow user to segmentize existing dimension by adding new dimension point (example shown below):
- Select the dimension that wish to add more dimension point
- Click on the Add Point icon
 .
. - Pick on the point to add the dimension point.
- Right-click and click 'Interrupt' to finalize.
Delete Dimension Point
This command allow user to remove existing dimension by selecting the unwanted dimension point:
- Left click on the dimension.
- Then click on the Delete Dimension Icon
 .
.
Radial
This command is to create a radial dimension for a defined circle.
Follow the steps below:
- Click the Radial
 icon.
icon. - Select a point that defines the origin of the circle.
- Select multiple points for the radial dimension.
- Right click to finalize.
Radial Dimension (3 Points)
This command allow user to add radial dimension (Radius) by selecting 3 points:
- Click on the Radial (3-points)
 icon
icon - Select three points that define the circle.
- Select multiple points for the radial dimensions.
- Right click to finalize.
Circular
This command allow user to create a radius dimension for a defined circle.
- Click the Circular
 icon
icon - Select a point that defines the origin of the circle.
- Select another point to specify the radius of the circle.
Circular (3 points)
This command allow user to add circumference dimension of the circular member. However, this command is suitable to use when origin point of the curved member is known.
- Select Circular (3 points)
 icon
icon - Pick the origin of the curved member
- Pick the center of the curved member
- Pick at first point to start the dimensioning
- Pick to second point to show the first dimension, (best to select clockwise)
- Continue the to add more points if necessary or right click to end dimensioning and confirm
Slope Dimension
This command allows user to indicate slope degree on drawing.
- Select Slope
 icon.
icon. - Pick two points that wish to measure the angle
- The indicator can be presented in several view modes by double left-click > change the "Mode"

Level Indicator (Side View)
This command allows user to indicate level on elevation view drawing.
- Select Level Indicator (Elevation)
 icon
icon - Pick a point to indicate the level
- Left-click again to place the indicator in the drawing

Level Indicator (Plan View)
This command allows user to indicate level on plan view drawing.
- Select Level Indicator (Plan)
 icon
icon - Pick a point to indicate the level
- Left-click again to place the indicator in the drawing

Delete Selected Dimensions
This command allows user to indicate level on plan view drawing.
- Select the unwanted dimension (except slope and level indicator)
- Select Delete Dimension
 icon to delete
 - Alternatively, can select dimension and use the keyboard "delete" button